2 PACK Monotub 66qt and Dry Bulk Substrate Kit
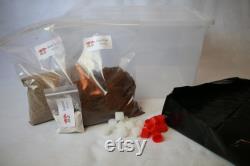
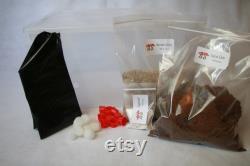
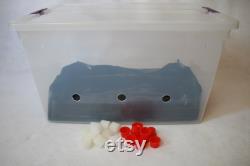
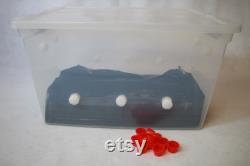
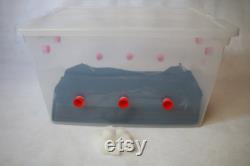
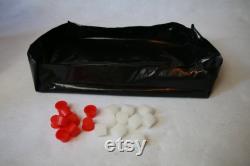
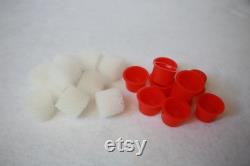


This kit included two 66qt monontub and two bulk substrate kit. Dimensions: 23 5/8 l x 16 3/8 w x 13 1/4 h. Holes: (4) - 1 upper holes & (6) 1 lower holes. Holes: covered with reusable red plugs for 1st stage of mushroom grow.
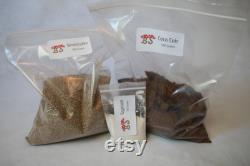
Simply remove reusable plugs and add foam filters when ready to fruit. This 66-quart plastic bin is a simple monotub set up for growing homegrown mushrooms. This simple design is virtually hands free and so easy. There are (4) 1 holes drilled at the top sides of the bin and (6) 1 holes drilled on the bottom sides of the bin.The holes are covered with reusable plugs for the colonization stage. Also, includes a black liner to help prevent side and under pinning. Once your bin is fully colonized, simply remove the plugs from the holes and add foam filters. Then open the lid, expose the substrate to air and put in a sunny area (not direct sunlight) to watch your mushrooms grow polyfil included. This is dry ingredients to make one 5 gallon batch of bulk substrate for your home grown mushroom grow (step 3 on my beginner mushroom guide).
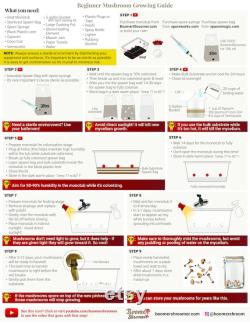
All you need is a 5 gallon bucket with a lid and 16 cups of boiling water. Included is 500 grams of coco coir, 500 grams of vermiculite, and 100 grams of gypsum. 16 cups boiling water (4 liters). First add coco coir and vermiculite to the 5-gallon bucket. Next, boil 16 cups of water. After the water comes to a complete boil add the gypsum. Let the water come back to a boil and then carefully pour into the 5-gallon bucket. Close with a lid and let sit for at least an hour and then mix. Let it sit to hydrate and cool for approximately 24 hours. Ideally keep insulated to aid the pasteurization process.Once room temp, double check to make sure it is at field capacity and mix in your colonized grain spawn. Check out my full tutorial on how to make bulk substrate. This is perfect for first time growers.
Also, i would love to help you through the process if you have any questions about growing mushrooms. Please review these charges before completely your order.

