3 x Oat Grain Spawn Bag, 1 lb each, fermented oats make nutrients more bioavailable, sterilized and ready to inoculate. DIY mushroom spawn.
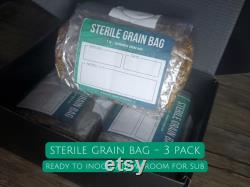
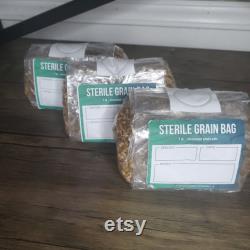
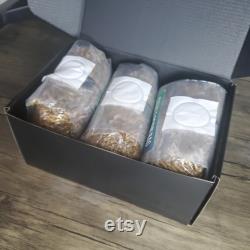
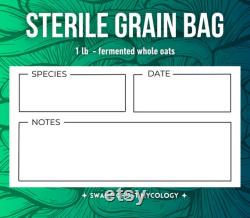


Oat grain bags are prepared by first fermenting the oats for 24 hours. Fermentation increases the bioavailability of calcium, phosphorous, and iron meaning your mushroom spawn can more easily take in those nutrients and, in theory, yield a more nutritiously dense mushroom in kind. Oats are then bagged, weighed, and pressure cooked for a minimum of 2 hours at 15 psi. Once cooled they are double or triple sealed with an impulse sealer, given an injection port and label.
I only make small batches so as not the have them sitting on a shelf for a long time. Sturdy 6 mm thick spawn bag. 99% fermented oats remaining 1% is a mix of millet, milo, and the occasional corn kernel.
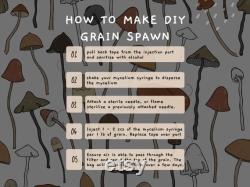
All appropriate grains for mushrooms spawn. Functional label intent to be written on. Space for name of species, date it was inoculated, and notes about the progress. You will need a mycelium syringe with at least 1cc of "mushroom starter" per lb of grain. Shake your syringe to evenly disperse the mycelium.Flame sterilize your syringe's needle if this is not the first time it's being used. Sanitize your injection port with an alcohol swab for 10-30 seconds while the needle cools. Pierce the injection port and inject 1cc/lb of grain.
Some cultivators will up to triple this amount with the idea of speeding up colonization, but bear in mind, the more moisture you add, the higher your risk for contamination. When 100% of the grain is colonized mix your grain spawn with your chosen substrate and watch them grow. It can take a week or more for some varieties to show growth. After some time you'll see white "fluff".
This is the mycelium colonizing the grain and will spread over time. Any other colors like dark grey or green is an early sign of contamination and should be monitored.In some cases the mushroom spawn will "win over" the contamination if it can grow fast enough. Some cultivators like to leave their bags alone until they are fully colonized while other like to "break and shake". I'd suggest break and shake when you see at least 30% of the bag having a strong white mycelium colony.
You take the bag, knock it around, and break up the colony. The idea is to mix those colonized grains around into the non-colonized so that you have multiple inoculation points to more quickly colonize the entire bag.This is optional and totally up to you. When you break and shake it looks like starting over but will recover in a few days. This item is made of fermented whole oats, 6mm mushroom growing bag, filter patch, self healing injection port and writable label.


