Grain Jar Liquid Culture Jar Lids (2 sizes) with self-healing injection port and reusable vent filter for air exchange when growing mushrooms
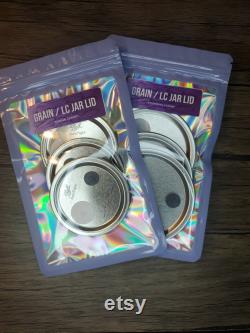
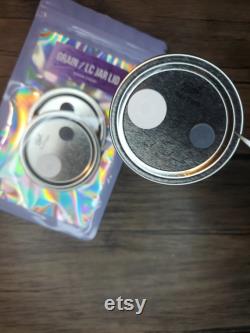
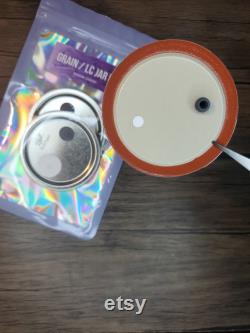
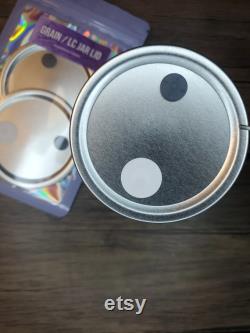
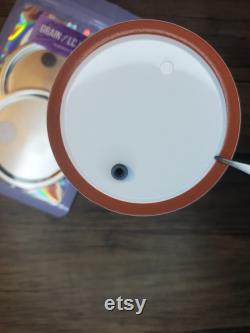
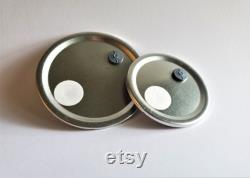
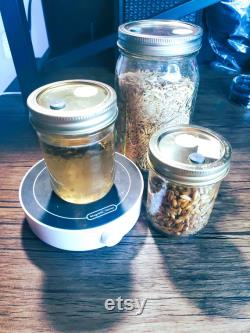
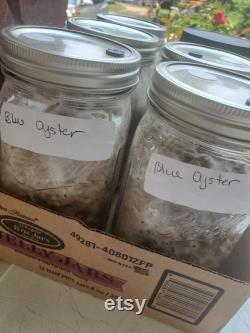
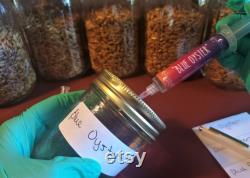


Pre-assembled and reusable lids for the liquid culture jars and grain jars used in mushroom cultivation. Available in regular size and wide mouth. I would consider this to be essential mycology supplies if you intend to store mycelium as a liquid culture, expand your lc syringes, or inoculate grain in reusable jars instead of grow bags. Self-healing injection port allows for a more sterile inoculation process leading to less chances of contamination and better mushroom harvests.
25 microns that could contaminate your grow. These lids are suitable for us in a pressure canner, autoclave, and dishwasher. If filter gets wet allow to airdry naturally. To use (as a liquid culture jar lid). Assemble this recipe of liquid culture solution.
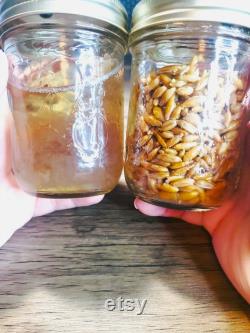
Fill you jar saving 1-2 inches of headspace. Cover lid with a tin foil "hat" that covers the lid completely. This is to protect the filter from excess moisture. Load into a pressure cooker, follow the pressure cooker's manual, process the jars for 20 minutes at 15 psi. Allow to cool completely before inoculating with mushroom spores / mycelium. Note - others in the myco community have made the suggestion that if you cannot pressure cook your lc's another option is to water bath can it for 20 minutes for 3 days in row. I have not tested this personally but this method comes recommended from people i trust, so take that how you will. To use (as a grain jar lid).1 - measure a 3rd jar of whole oats for each grain jar you are preparing. (so if your doing 6 jars, you'll need 2 jars of grain). 2 - (optional) rinse your grains in a similar way to how you wash rice.
I find this leads to cleaner, neater looking jars. My jars get photographed a lot so this is important to me but if it's not for you, skip it. 3 - add grains to a pot and cover with water by several inches. 4 - bring to a boil then lower to a simmer. Start a 20 minute timer.
5 - add water during simmer process as necessary. The 20 minute mark start checking your grain's hydration by taking out a grain, cooling it under cold water, and testing to see if you can break it in half with your nail.And easy break means your close. Look at the grain, is it very white and starchy looking if so, process for another 2-3 minutes.
Pull your grain before they start to burst open. Burst grains can be easy points for contamination so we want to minimize this as much as possible. 6 - once it passes the hydration test, drain your oats and spread out on a clean towel for about 1-2 hours. The goal is to have the outside of the grain mostly dry.
7 - load grain into jars leaving about 2 inches of headspace, this is so you have room to "break and shake" later. 8 - put the lids and band on, cover entire lid with tin foil. 9 - load into a pressure cooker, follow the pressure cooker's manual, process the jars for 90 minutes at 15 psi. 10 - allow to cool completely before inoculating your now sterile grain spawn jars.
Note - when i grow in jars i do a "break and shake" at 30% colonization and 70%. This is to help quicken the growth of the mycelium and distribute it evenly around the jar. It isn't necessary but it is my recommendation. This item is made of tin, synthetic filter paper and self healing rubber.


