Pollen Extractor Sieving Machine 12 to 50 Gr Pollinator Resin Press
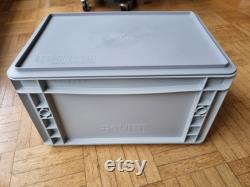
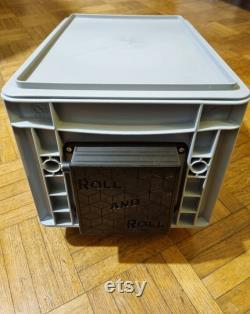
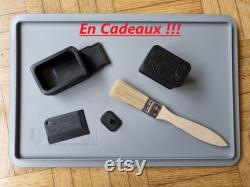


Pollen extractor that can receive between 12 and 50 gr of dried flowers. Not finding the price of a pollinator justified, i decided to offer my version, at a much more affordable price.
Thanks to its clamps you can do it easily a simple gluing and replacement of the necklaces will suffice. And since i don't like to do things halfway, i offer you with your extractor, a pollen press which seems to me to be the final tool essential to a good harvest. A box of 300 x 200 x 170 mm.
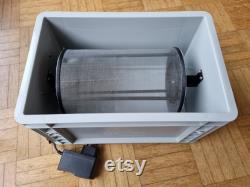
A lid of 300 x 200 x 20 mm. A drum of 130 mm in diameter with filtration net of 180 microns.
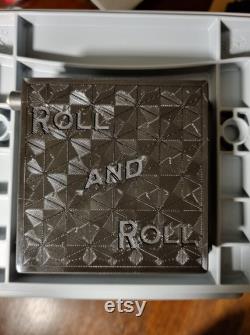
A motor of 6v - 27 rpm. A drum pulley drilled to 3.5 mm in diameter.A motor pulley pierced to 3.5 mm in diameter. There is no risk of special wear on the machine. I offer these spare parts only in order to extend the life of your extractor. A pollen press for wafer of 12 gr.
How to use the extractor. 1/ burst your dried flowers into small pieces so that they rub, shock each other as much as possible place them in the freezer (between -18 and -24) for 20-30 min, or in the freezer (between -6 and -12) for 30-45 min. 2/ during this time, prepare your machine.
Draw the inner outline of the cover. Of the extractor, on a sheet of food paper. Cut it out and place it in the bottom of the machine. This will be much easier to recover your pollen in the end. 3/ once your flowers are ready, place them inside the drum.
(avoid small bits of branches in it as much as possible) and install it in your extractor. Plug in your machine, and run 20-30 min. 4/ you can turn off your extractor and store your sifted flowers. More than squeezing your pollen harvest with the press offered as a gift. How to use the press. 1/ assemble the press fund with the press body, then using the bottom of the cup, draw, on a piece of baking paper, the outline of the part and cut 2. 2/ place one of the two sheets of baking paper in the bottom of your press.Then place a food film, folded in half as cleanly as possible, on top of the press and use the cup to give it the shape of the mold. With the help of a small spoon, place your harvested spice in the mold, distributing it well everywhere. 3/ then use the leveler to properly smooth the top of your molding. 4/ place the second sheet of food paper on top. 5/ you can then use the cup to squeeze your mold.
6/ once pressed, remove the cup and fold the excess food film over the top baking paper. Remove the removable bottom of the press, and turn it over. Then push using the cup to unmold your wafer. You can then remove the sheet of baking paper on top and neatly wrap your mold in its food film.Turn on your heating, put a wooden board on it, place your press with the pollen before pressing and let it warm up for half an hour this will facilitate pressing and will also allow a better fixation of the trichomes between them. The best thing is to place 2 small wooden boards on each side of the press and use a vice if you don't have one, place a wooden board with a folded cloth on it, then put your press and put a tea towel and a wooden board back on top, and hit with a hammer wooden or rubber if you have.
You can even, after that, get on your press to put all your weight in it.


